How Do Ice Dams Form and Why Are They Dangerous for Wisconsin Homes?
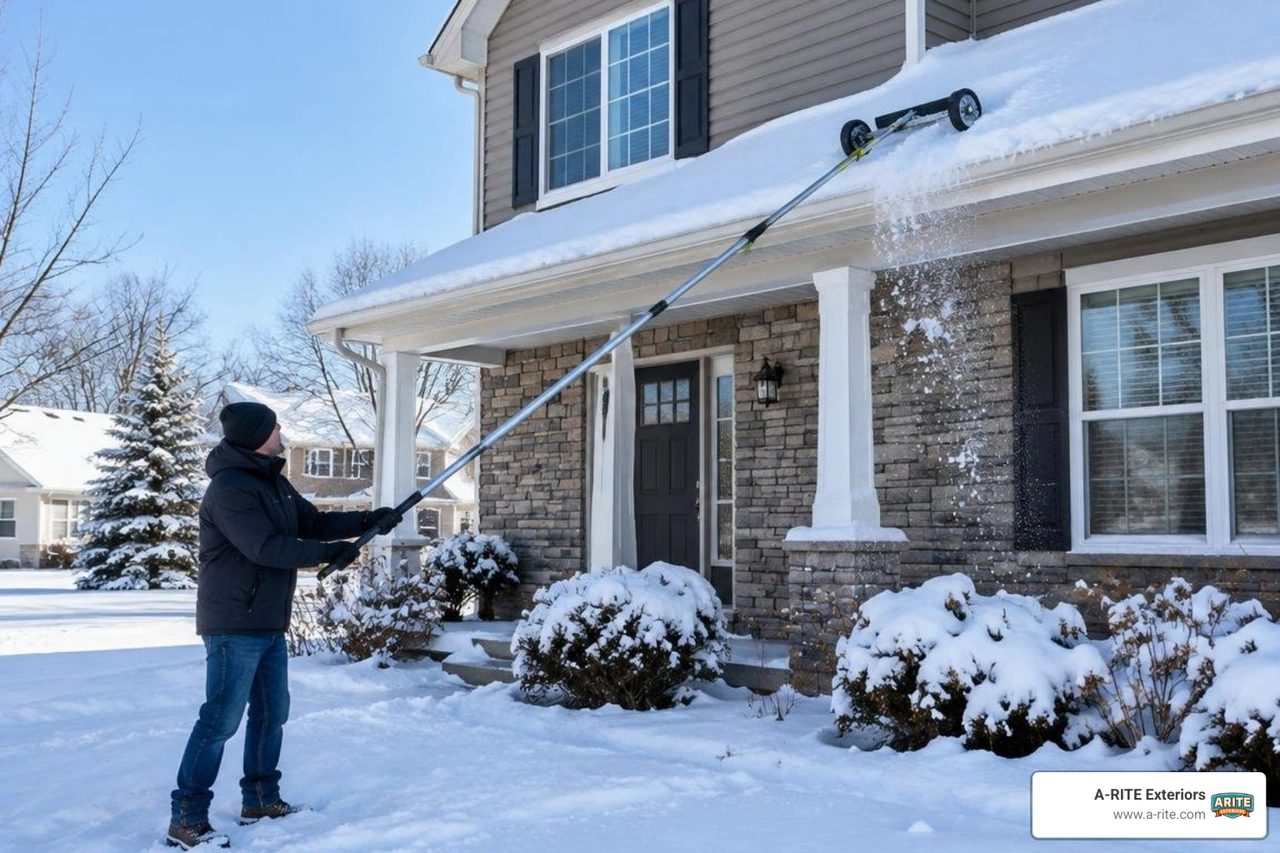
Raking snow off your roof in Wisconsin is a safe and effective preventive measure when done correctly from the ground using a proper wheeled roof rake to clear snow near the eaves. However, it becomes a bad idea if you climb onto an icy roof, scrape down to bare shingles, or hack at solid ice, which risks severe personal injury and roof damage.
To understand why roof raking is so effective, you first have to understand what causes the underlying problem: ice dams. An ice dam does not form simply because it is cold outside. It forms because of an uneven temperature difference across your roof deck.
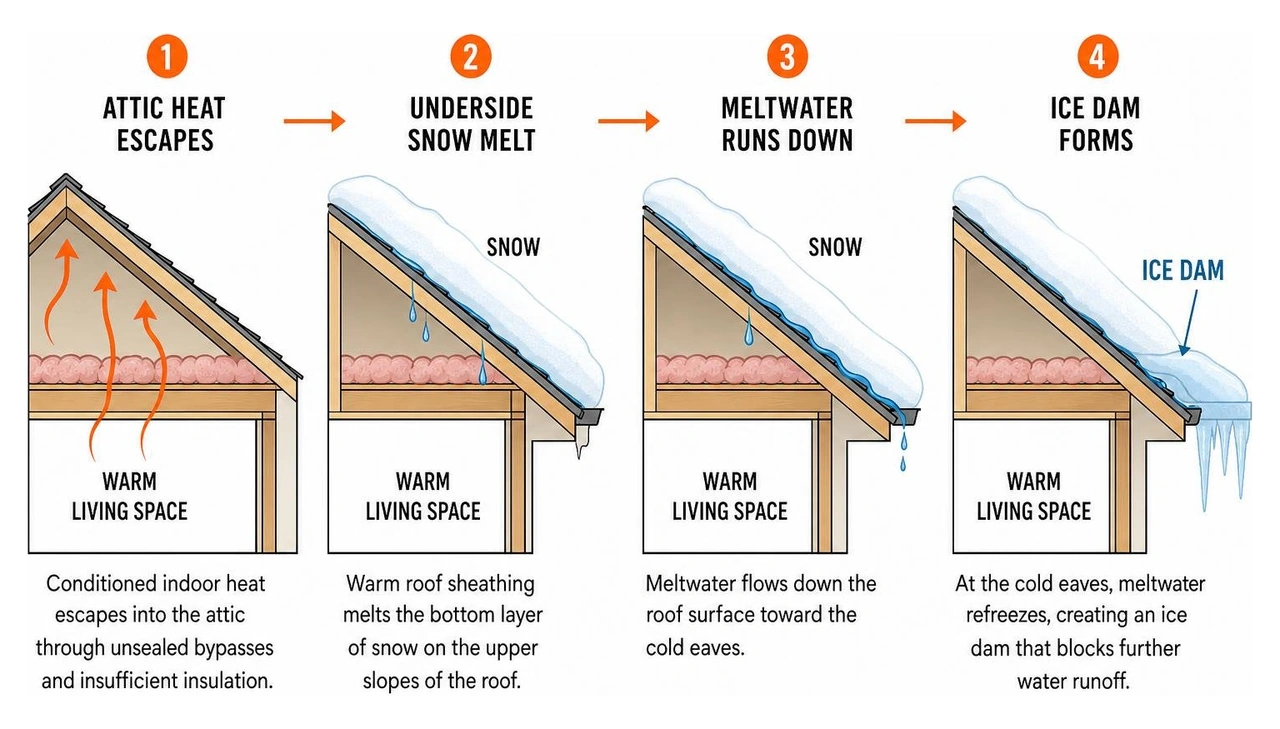
During a typical Central Wisconsin winter in communities like Wausau, Stevens Point, or Minocqua, heavy snow blankets your roof. At the same time, conditioned indoor heat escapes from your living spaces into the attic through unsealed bypasses and insufficient insulation. This warm air collects near the upper ridges of the roof, heating the roof sheathing above freezing.
Here is how the cycle unfolds:
- Underside Snow Melt: The warm roof sheathing melts the bottom layer of snow on the upper slopes of the roof.
- Runoff Down the Slope: The melted water trickles downward between the remaining snowpack and the shingles toward the roof overhangs.
- Refreezing at the Eaves: Once the meltwater reaches the unheated eaves, soffits, and gutters (which remain below freezing because there is no living space beneath them), the water refreezes instantly into solid ice.
- Water Backup Under Shingles: As this process repeats day after day, a thick ridge of ice builds up along the roof edge. Meltwater pooling behind this ice barrier has nowhere to drain, forcing water backward and upward under the shingle laps, through nail penetrations, and straight into your roof decking and attic.
Recognizing the warning signs early makes a massive difference. You can protect your home by spotting early signs of ice dams before they get worse, such as thick icicles forming behind gutters, ice buildup on exterior siding, or frost collecting on roof framing nails inside the attic.
When trapped meltwater penetrates the building envelope, the resulting interior and exterior restoration can cost thousands of dollars, and severe cases can cost much more. The destructive moisture rots structural rafters, drenches blown-in insulation (ruining its thermal resistance), stains drywall ceilings, and creates hidden mold colonies inside wall cavities. Reviewing the 9 common types of damage caused by ice dams shows why ice dams are considered one of the biggest structural threats to Midwest homes.
Certain architectural designs, such as complex roof valleys, low-slope dormers, and vaulted ceilings with minimal attic clearance, explain why some homes are more prone to ice dams than others.
What Are the Safest Techniques and Common Mistakes When Using a Roof Rake?
Roof raking is one of the most practical tools in a Wisconsin homeowner's winter maintenance arsenal, provided you use the right tool and follow safe mechanics. The purpose of a roof rake is not to strip your roof down to bare shingles; it is to remove the fuel that feeds an ice dam. By clearing snow along the eaves, meltwater from the upper roof can drain freely without hitting a cold snow blanket that turns into a frozen dam.
Choosing the Right Roof Rake
Never use garden rakes, metal flat shovels, or makeshift wooden scrapers on your roof. Look for a purpose-built telescoping roof rake with the following features:
- Integrated Roller Wheels or Bumpers: Small wheels or polymer glide pads keep the metal blade floating a small distance above the asphalt shingles, preventing the blade from stripping away ceramic protective granules.
- Lightweight Aluminum or Fiberglass Extension Poles: Sectional or telescoping poles help you work from the ground without excessive muscle strain.
- Curved or Angled Blade: A curved aluminum or poly blade pulls snow toward you naturally without requiring excessive downward force.
| Roof Rake Type | Key Features | Shingle Safety Rating | Best Application |
|---|---|---|---|
| Wheeled Rake | Built-in roller wheels that elevate the blade | Highest | Standard architectural and 3-tab asphalt shingles |
| Snow Slide / Canvas Cutter | Metal frame cuts snow; fabric directs it down | High | Deep, fresh, low-moisture powder; steep pitches |
| Standard Poly Blade Rake | Rigid plastic blade without wheels | Moderate | General snow clearing (must maintain manual clearance) |
| Straight Metal Blade Rake | Direct aluminum blade edge | Caution Required | Metal roofing only; can scrape asphalt granules |
Step-by-Step Safe Raking Technique
Following established industry guidelines on how to safely remove snow from roofs protects both your physical safety and your roofing materials:
- Plan Your Stand-Off Distance: Stand firmly on solid, non-slip ground a safe distance back from the eaves. Never stand directly beneath the roofline where a sudden cascade of snow could bury or injure you.
- Scan for Overhead Electrical Lines: Before extending metal poles, inspect the area thoroughly. Aluminum conducts electricity, so keep your rake pole well away from electrical service drops.
- Rake in Manageable Layers: Do not try to bite through a deep layer of heavy, wet snow all at once. Shave off the snow in manageable layers first, working in small horizontal sections.
- Pull Parallel to the Roof Pitch: Place the rake near the upper target zone and pull downward following the natural slope of the shingles. Never pull horizontally across shingle tabs or push upward, which can lift and break frozen shingles.
- Leave a Protective Snow Buffer: Always leave a thin layer of snow on top of the shingles. Stripping the roof bare exposes cold, brittle shingles to direct friction, causing granule loss that mimics how storms affect roof shingles during severe weather.
What Critical Mistakes Should You Avoid When Raking?
- Scraping Down to the Decking: Scraping aggressively dislodges mineral granules, which leaves the asphalt base exposed to UV deterioration and early shingle cracking.
- Raking Perpendicular to the Pitch: Pulling sideways can hook shingle corners or catch aluminum gutter brackets, bending them out of pitch.
- Standing Directly Underneath the Overhang: Packed snow is heavy; a falling slab of dense snow or hidden icicles can cause severe head and neck trauma.
- Using Metal Rakes Near Electrical Wires: Always verify overhead utility clearances before assembling and raising extension poles.
Why Is Climbing Onto Your Roof to Shovel or Chip Ice a Dangerous Mistake?
When snow gets deep across Northern and Central Wisconsin, some homeowners are tempted to pull out a ladder, climb onto the roof deck, and shovel it off. From our perspective as professional roofing contractors, this is an extremely hazardous move.
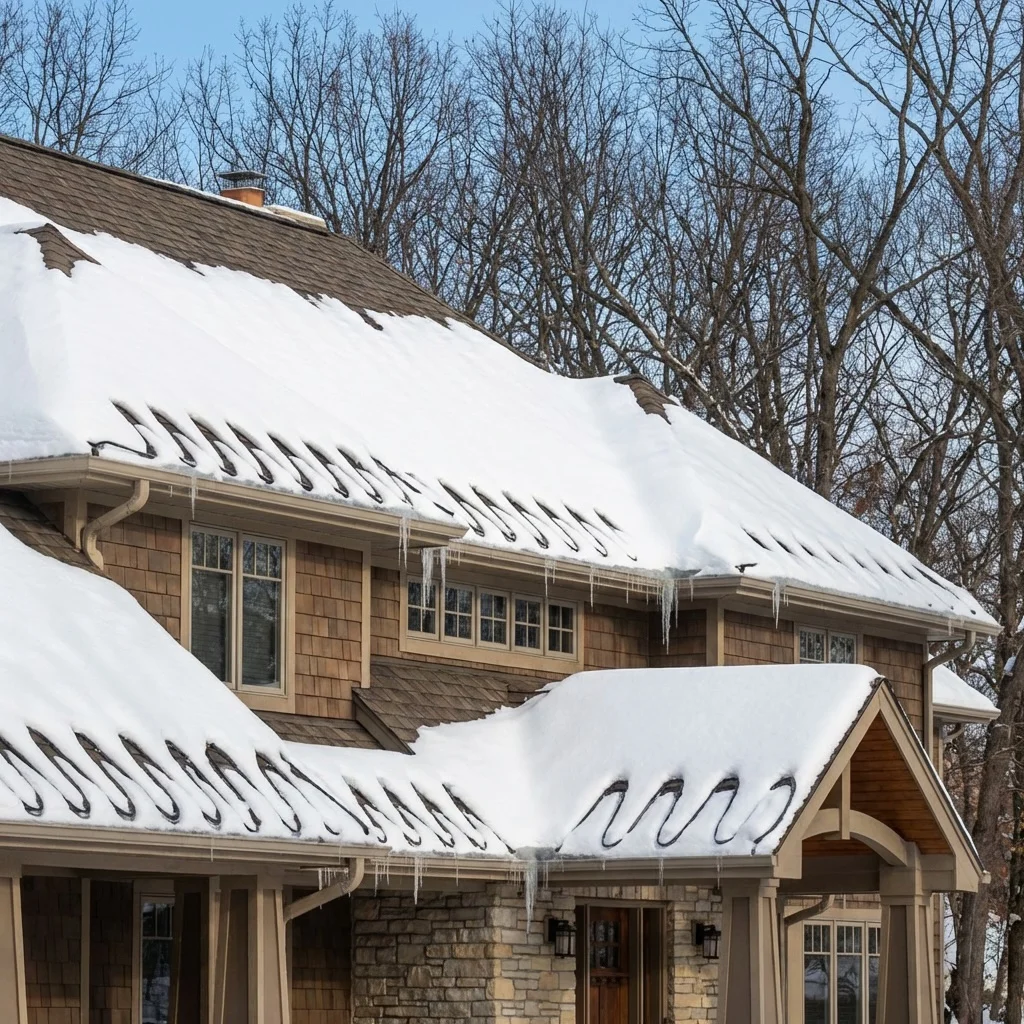
Walking on a winter roof is inherently dangerous. Shingles freeze solid in cold temperatures, and a thin, invisible layer of frost or ice often hides beneath the snowpack. Stepping onto an icy pitch creates an immediate fall risk, and snow can conceal skylights, plumbing vents, and structural valleys. Fall protection experts providing tips for safe roof snow removal consistently warn that walking on frozen, steep slopes without specialized commercial fall-arrest harnesses and anchor points leads to severe injuries every winter.
The Problem With Chipping or Hacking at Ice
When a thick ice dam has already settled over your eaves, taking a hatchet, hammer, crowbar, or ice pick to the roof creates severe mechanical damage:
- Punctured Shingles and Underlayment: Asphalt shingles become brittle in freezing temperatures. A strike from a hammer or chisel shatters the frozen asphalt mat and cuts through the waterproof underlayment beneath.
- Broken Gutter Hangers and Fascia: Striking ice trapped inside gutters loosens the structural spikes and fascia boards, causing gutters to tear away during spring thaws.
- Hidden Structural Leaks: Hacking at ice often causes signs of hidden roof damage that can go unnoticed until spring rainstorms drive water deep into the attic.
Homeowners evaluating DIY vs professional ice dam removal pros and cons find that the risk to personal safety and roof integrity far outweighs the temporary convenience of DIY chipping.
Why Professionals Often Use Low-Pressure Steam
If an ice dam has already formed and water is backing up into your home, you need professional mitigation. Professional crews use industrial, low-pressure steam equipment designed specifically for roofing systems.
Low-pressure steam equipment uses controlled heat and low pressure. Unlike high-pressure power washers, which blast away shingle granules and rip apart seal strips, steam gently melts targeted vertical channels through the ice dam, relieving pooled water without ever touching or abrading the asphalt shingles.
When ice dams threaten your home, contacting specialized ice dam removal services can help address the ice while helping protect your shingles.
What Long-Term Solutions Prevent Ice Dams from Returning?
Roof raking is a helpful, reactive way to manage heavy snow, but it treats the symptom rather than the underlying cause. If you have to rake your roof after every snowfall to prevent internal water leaks, your home is losing too much conditioned heat through the attic.
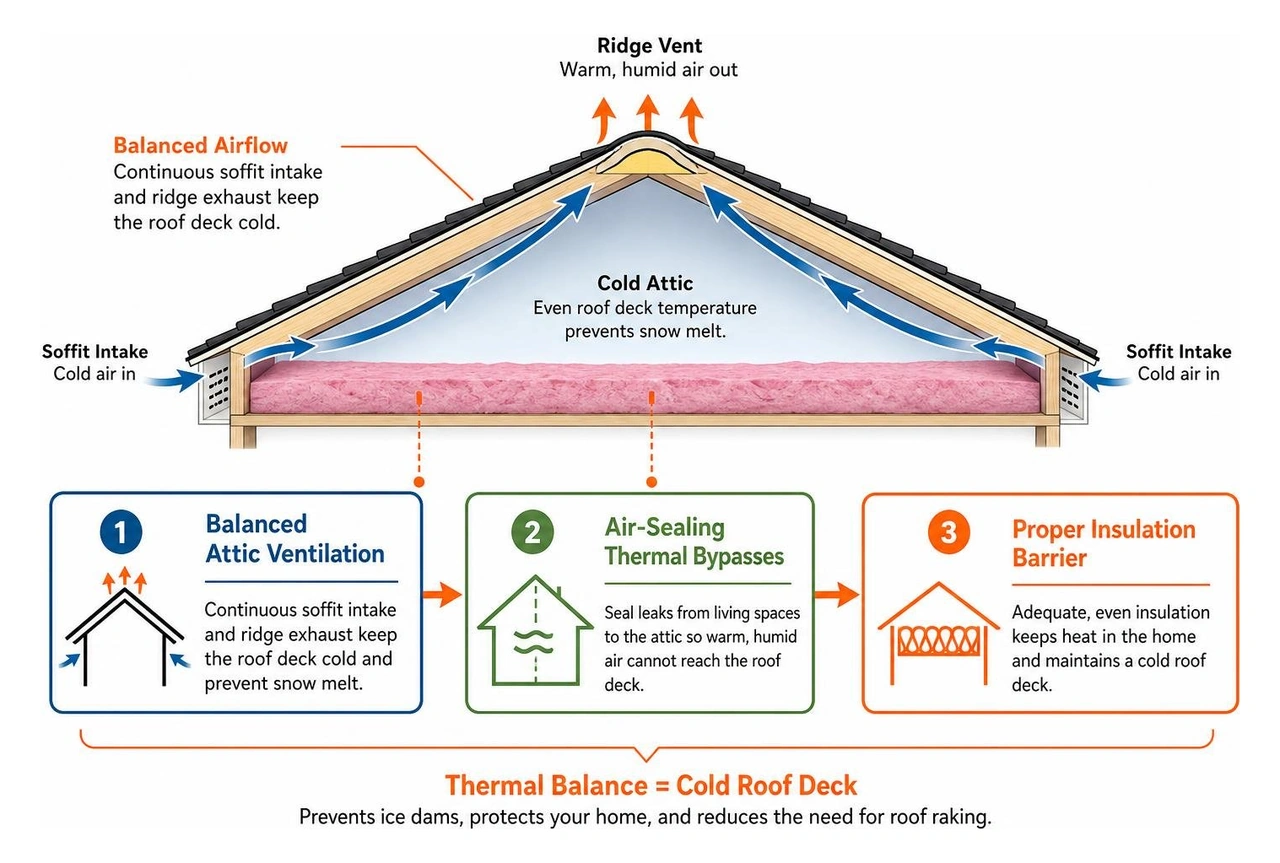
The permanent solution requires balancing attic ventilation, sealing thermal bypasses, and installing proper attic insulation depth to keep your roof deck cold.
1. Balanced Attic Ventilation
A well-designed attic ventilation system draws cold exterior air in through continuous soffit intake vents along the eaves and exhausts warm, humid air out through ridge or gable vents near the peak. This continuous airflow keeps the underside of the roof sheathing at an even temperature that closely matches the outside air. The direct connection between attic ventilation and ice dams explains why clear, unblocked intake paths prevent the hot spots that melt roof snow.
2. Air-Sealing Thermal Bypasses
Before adding insulation, you must seal the hidden bypasses where warm household air escapes into the attic. Common leakage points include:
- Unsealed attic access hatches and pull-down stairs
- Gaps around masonry chimneys and metal flue pipes
- Recessed can lighting fixtures
- Electrical and plumbing wall penetrations
- Bathroom and kitchen exhaust fans venting into the attic rather than completely through the exterior roof or sidewall
3. Upgrading Attic Insulation Levels
Once air leaks are sealed, the attic floor needs a continuous thermal barrier. In Wisconsin's climate zone, maintaining the proper R-factor for Wisconsin homes is essential for stopping conductive heat loss.
Upgrading attic insulation with high-performance systems like Attic Cat blown-in attic insulation creates an even thermal blanket and is designed to resist settling.
Please note: A-RITE Exteriors only provides attic insulation. We do not provide wall insulation, general insulation, or other insulation services beyond attic insulation.
Energy Rebates and Tax Considerations
When upgrading your home's thermal efficiency, take advantage of available financial incentives:
- Wisconsin Focus on Energy: Homeowners may qualify for Focus on Energy rebates. These rebates are for qualifying insulation and air-sealing work (such as attic insulation, air sealing, wall insulation, foundation insulation, duct sealing, and qualifying DIY attic insulation and air sealing), not for roof replacement itself. Rebate amounts and eligibility rules change over time, and homeowners should confirm current program rules before starting work.
- Federal Tax Incentives: For Section 25C (Energy Efficient Home Improvement Credit), current IRS guidance shows it was available for qualifying improvements placed in service through December 31, 2025. It should not be assumed as an active credit for 2026 or beyond unless confirmed by current IRS guidance. Always consult a certified tax professional regarding current tax rules.
Frequently Asked Questions About Roof Snow Removal in Wisconsin
Can raking snow off my roof damage my shingles or gutters?
Yes, roof raking can damage your roofing system if done improperly. Pulling the rake sideways across shingle tabs, applying heavy downward force, or using a rake without protective roller bumpers can strip protective asphalt granules and tear shingles. Granule loss weakens shingles against weather exposure. Catching the edge of an aluminum gutter can also bend or detach the gutter from the fascia. To prevent damage, always pull parallel to the roof pitch and leave a thin layer of snow over the shingles as a protective buffer.
What should I do if a thick ice dam has already formed on my eaves?
If an ice dam has already formed, do not attempt to rake it, chip it with an axe, or climb onto the roof. Rakes are only designed to remove loose snow; striking solid ice will shatter frozen shingles and puncture roof underlayment. Instead, contact a professional contractor equipped with low-pressure steam equipment. Low-pressure steam safely cuts channels through the ice to drain trapped water without harming your roof deck. If you notice active indoor water leaks, place buckets under the drip and contact a roofing contractor for repairs as soon as you can.
How much snow accumulation warrants raking my roof?
For Central Wisconsin homes, consider clearing snow along the roof edge after heavy snowfalls, especially when the snow is wet. It is especially important to rake before major temperature swings, such as when a cold snap is followed by milder sunny days, as these conditions accelerate the freeze-thaw cycle that creates ice dams.
How Can A-RITE Exteriors Protect Your Home Against Wisconsin Winters?
Raking snow off your roof from the ground is a safe, sensible defensive measure when heavy snow hits Central Wisconsin. But clearing snow with a rake is a seasonal chore; the permanent cure for ice dams lies inside your attic.
At A-RITE Exteriors, we have spent decades designing, installing, and repairing roof-first exterior solutions built to handle Wisconsin winters. Whether you need a winter roof assessment, ice dam removal, a full exterior evaluation, or targeted attic insulation to eliminate winter heat loss, our team is here to help.
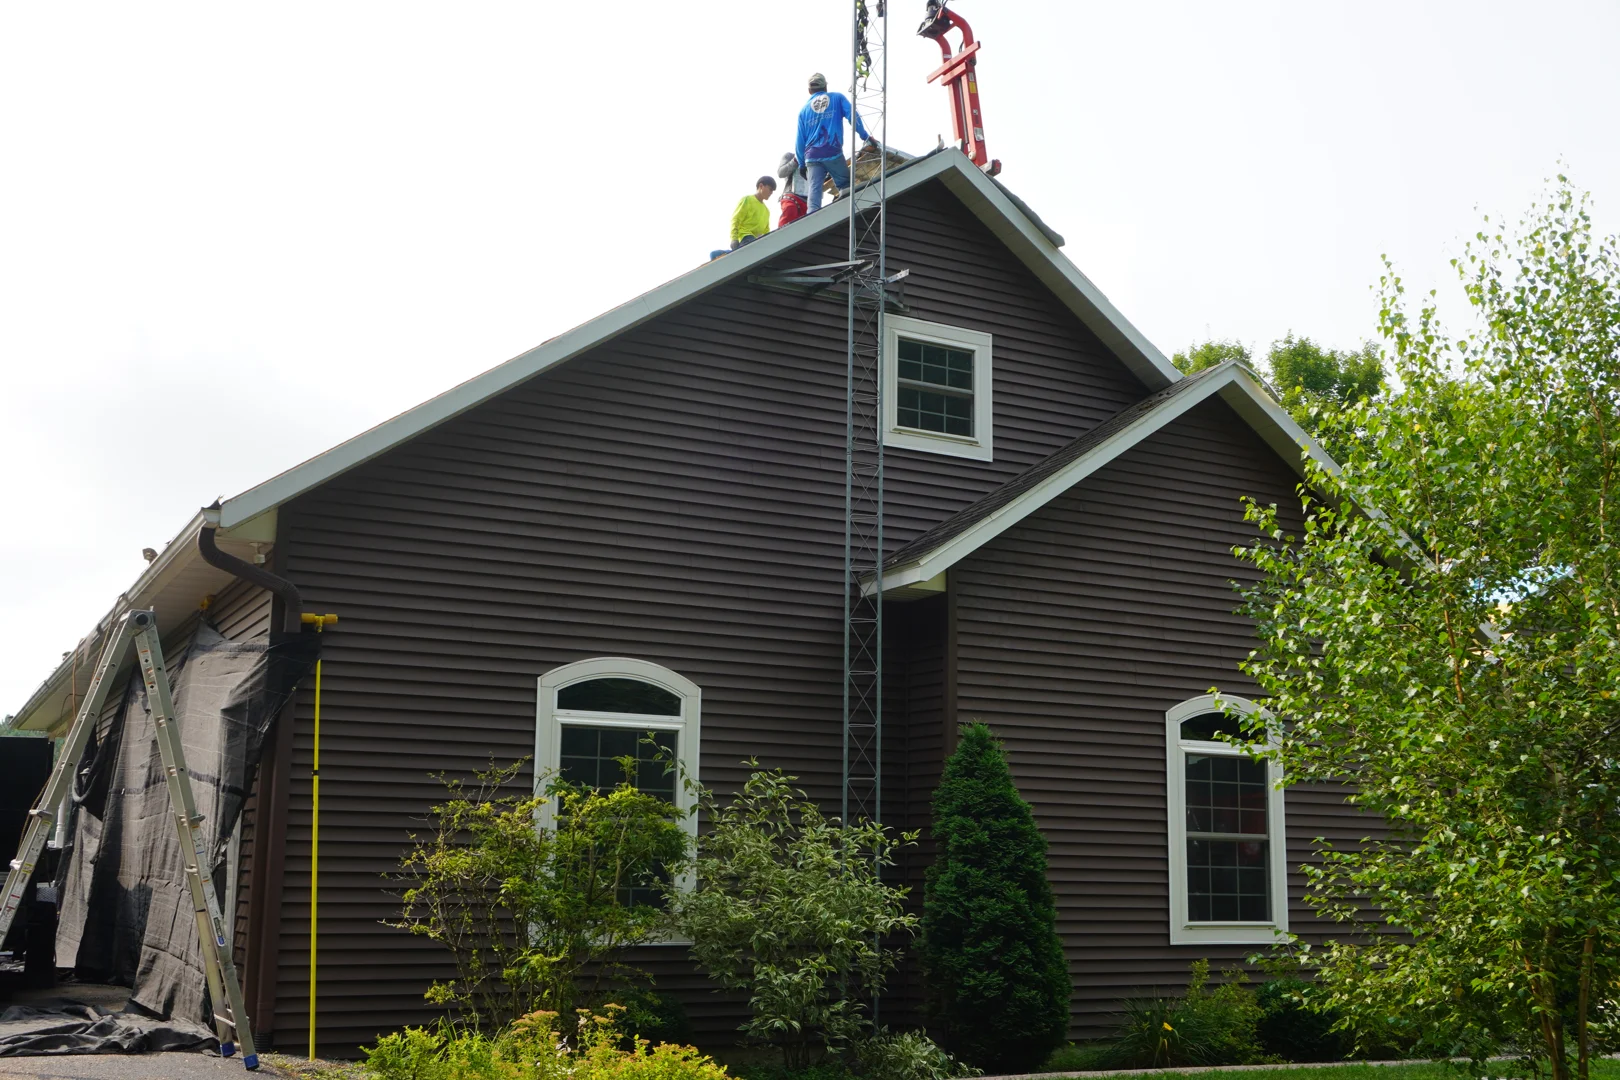
When considering a full roof replacement, total project costs generally range from the upper four figures to the mid five figures. The final investment depends on roof size, pitch, number of existing layers, decking condition, selected materials, and labor requirements. If you receive multiple quotes, a lower price may reflect differences in materials, scope, cleanup, warranty coverage, or installation details.
To help you protect your home comfortably:
- Financing options are available for qualifying homeowners. Loan amounts up to $100,000 unsecured may be available, with final approval, rates, and terms based on lender review and credit qualification.
- A-RITE offers financing through Service Finance, and example terms are available on its financing page. Financing is subject to credit approval.
Ready to protect your home before the next winter freeze? Use our instant roof quote tool or contact A-RITE Exteriors today to schedule your comprehensive roof and attic inspection. Trust the Hawk on Your Block.